Linocut Printmaking Process
In collaboration with Candlestick Coffee Roasters, I will be releasing a limited edition linocut print featuring a roadrunner with a Valentine’s theme. For folks who are unfamiliar with the linocut process, I wanted to share how these prints are made, and the work that goes on behind the scenes.
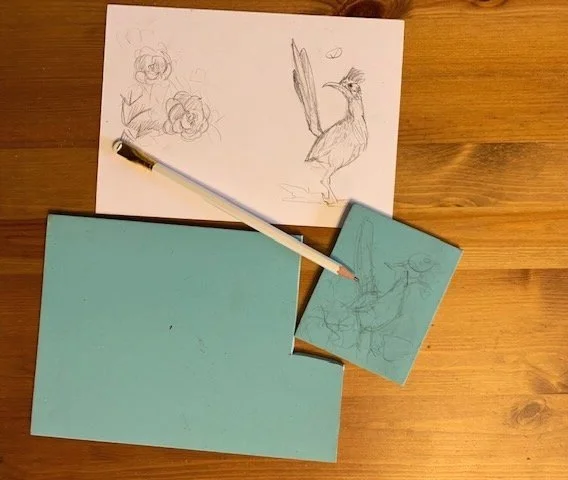
1a. This process always begins with a conceptual drawing. Zach and I discussed options from cranes and cacti to roadrunners. We settled on a roadrunner.
1b. Once I finalized the idea, I transferred the drawing to lino (or “linoleum”) and cut out the piece with an X-acto blade.
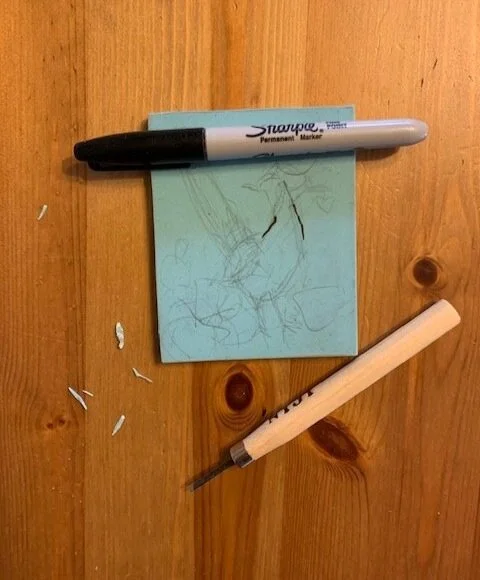
2a. Sketching an idea, I think trace the final drawing with a Sharpie.
2b. Next, I use a gouge tool, this is Niji brand, to carve out the areas I do not want to print. Unfortunately, I got so into carving, I forgot to take a picture of this part!

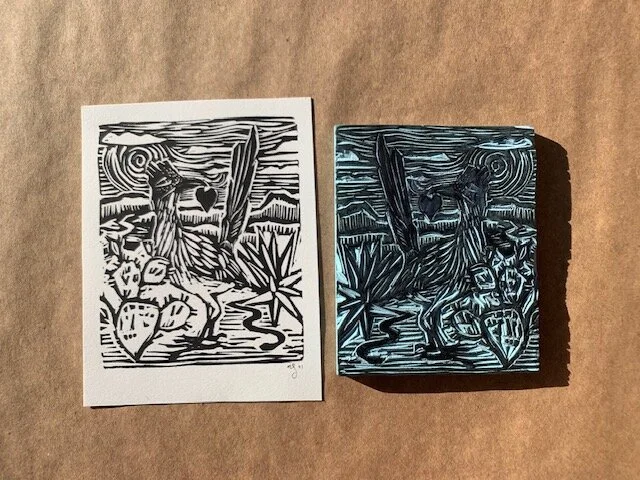
3. Here is the final stamp, carved with the black indicating the areas that will be printed. As you can see, the Sharpie ink remains.
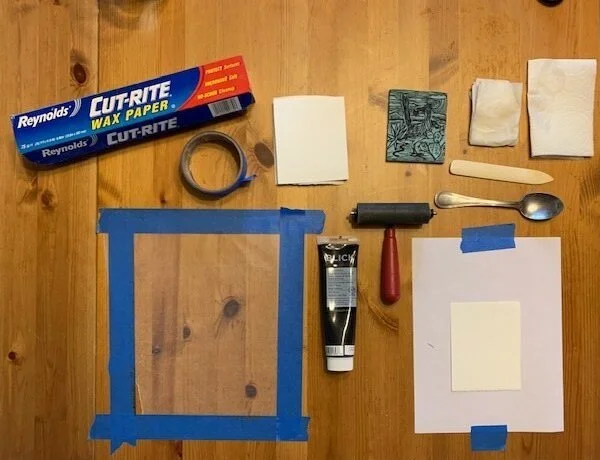
4. Here is my set up for printing each of these pieces. Clockwise from the wax paper: a) Wax Paper for my make-shift inking palette b) Blue Tape for my make-shift inking palette c) pieces of Stonehenge that I will print on d) the linocut block I will print e) two paper towels: one wet, and one slightly damp to wipe off any excess ink from my hands or the table before I pick up the paper f) burnishing tools: a book binding bone creasing tool and a regular kitchen spoon g) printing staging area h) brayer, roller that applies ink to the block i) water based, printing ink, black j) inking palette made of wax paper and tape to protect the table.
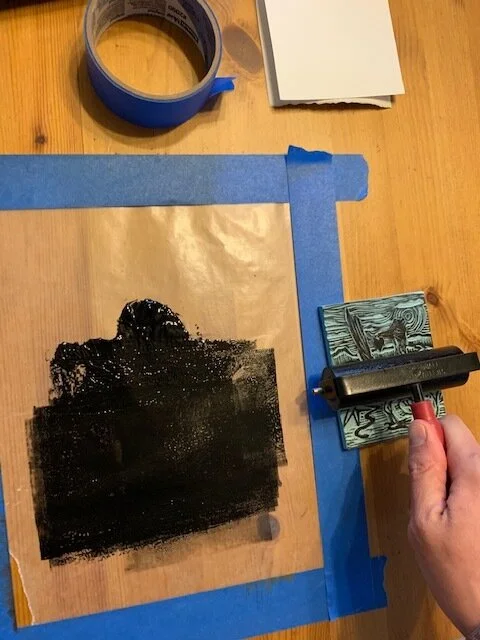
5a. Putting a dollop of ink on the wax, I push the brayer into the ink, and I want a nice, tight, high-sounding sticking noise, not a gloppy, loud smacking noise, so I don’t apply too much ink to the block.
5b. Once I have the right consistency, I apply the ink to the block by rolling it in several directions.
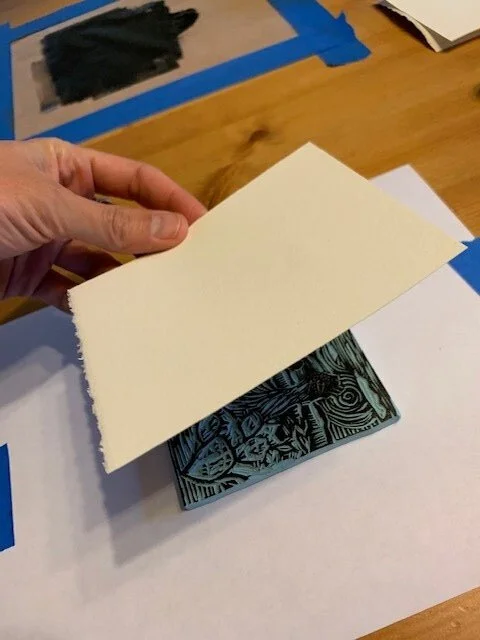
6. Usually, I use two hands to do this, but I had to take a photo with my other hand. I carefully position the paper over the block and then lightly press down in the middle to adhere it to the ink and hold it in place.
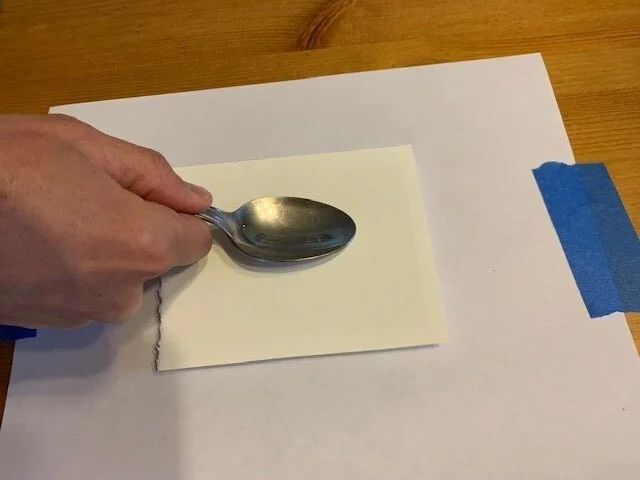
7. Next, I use my burnishing tool to “burnish” or “polish” the paper and help affix the ink to the paper. I use pressure to make sure I’m getting all the details without smudging or smearing the design.
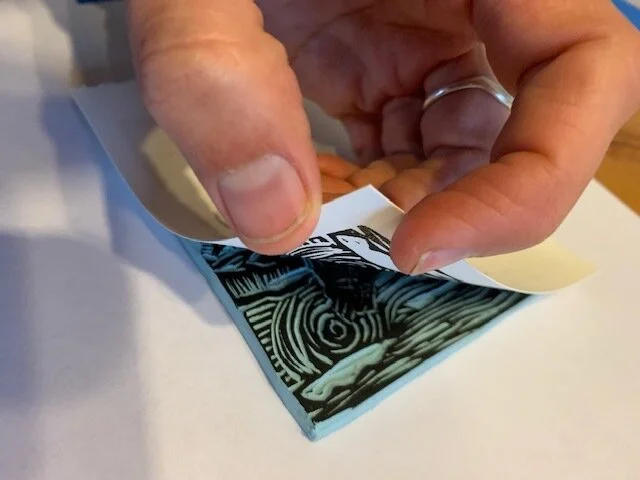
8. I check to make sure that the design has registered enough onto the paper by carefully lifting a corner. If it hasn’t, I replace the edge and burnish again.
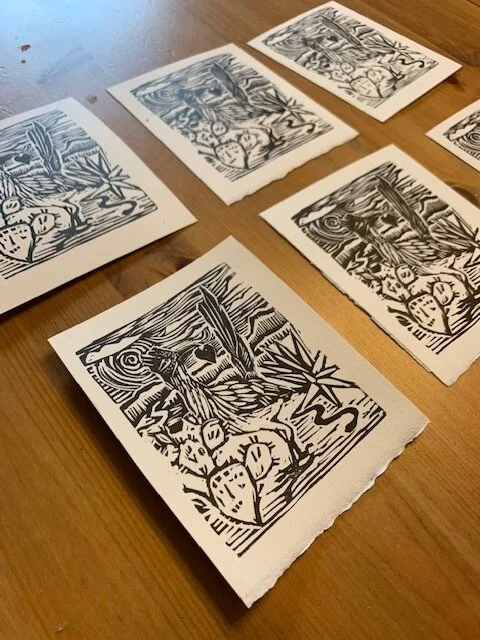
9. Here are the finished pieces drying on a flat surface before I sign and date each one.
Thank you for reading :) I hope you’ll check these out when they’re available!